1. The pattern pieces are cut out.

2. I played with a mini model to try to get a sense of how assembly would go. Besides the front band and the pocket, there are 2 seams, one for each sleeve and front.

The pattern is notched and labeled with letters (only on one side)to help match things up. On the fabric, I colour coded the notches, on both sides (left and right). It left coloured marks on the garment but I was working with re-used tablecloth fabric so I was not too worried.
3. The front plackets need to be sewn first. It is easier to use fusable interfacing, but I did not have any on hand so I basted non-fusable interfacing in place. I joined the left and right pieces together at the neck, for both the top and interfaced placket pieces. I pressed the edge of the inside facing before sewing the the 2 plackets together.
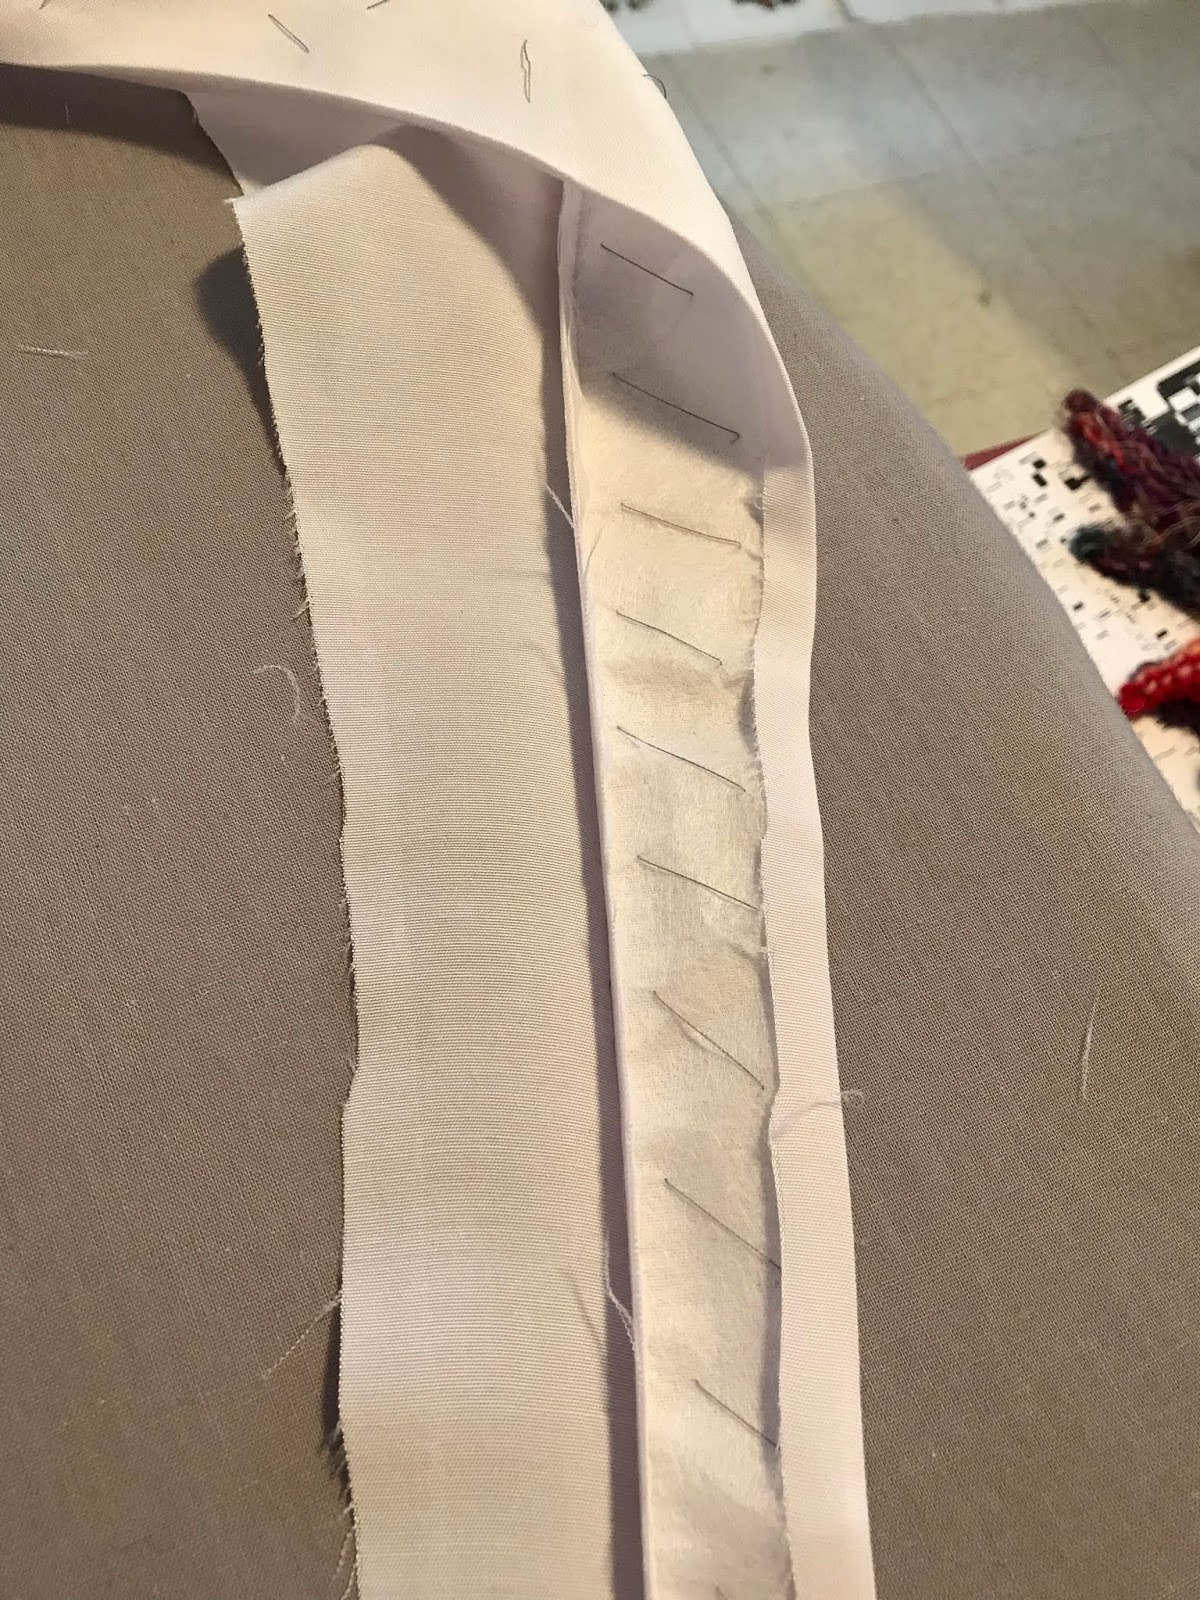

Then, right sides together, sew the placket to the neck/front of the body piece. Pin and baste the facing in place. I hand sewed it later.
4. I serged the bottom hem and pressed it. It didn't have to happen at this moment, but it was a good time to deal with it while it was still flat. It gets sewn later.
At this point, one could prepare the pocket, but I was in a bit of a hurry to figure out how the sleeves sorted themselves out.
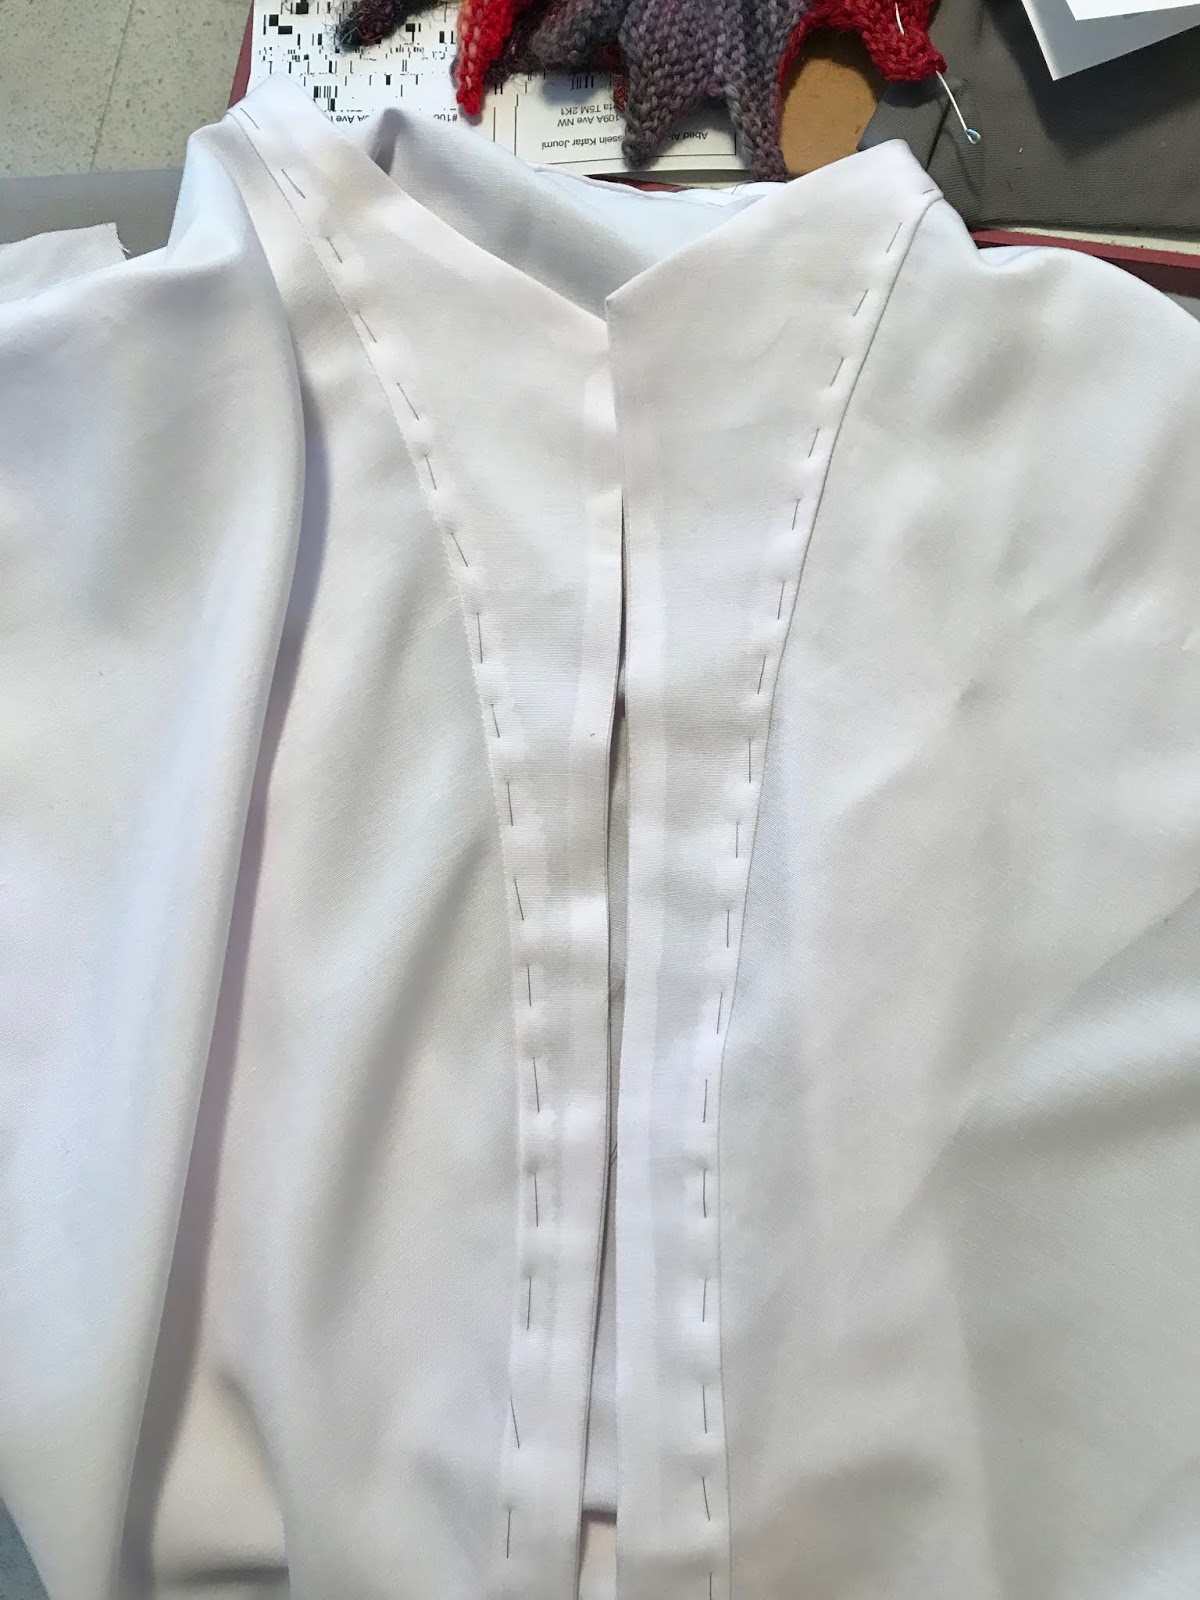
5. Match up the letters (in my case, colour coded notches), pin and baste to form the sleeves. Stop about 3 inches from the corner that connects the front.
I went rogue on the pockets, because I forgot about the pocket section on the main piece.
6. I cut 4 pocket pieces and sewed 2 pockets together leaving 1/2" at the top. I sewed the pocket to the bottom of the front, where marked (then realized I did it wrong - so I cut the pocket section off the main piece)

7. I pinned and basted from where I left off with the sleeve, across the front taking the pocket opening into account. It was a grand moment when I could make the 2 seams that make this crazy piece into a shirt. I serged the seams and pressed.
8. I finished the edges of the flap/facing on the bottom of the fronts, then basted into place.


9. Sew the hem.
10. Then it was time for me to sigh over the long sleeves. I cut off 2 inches.
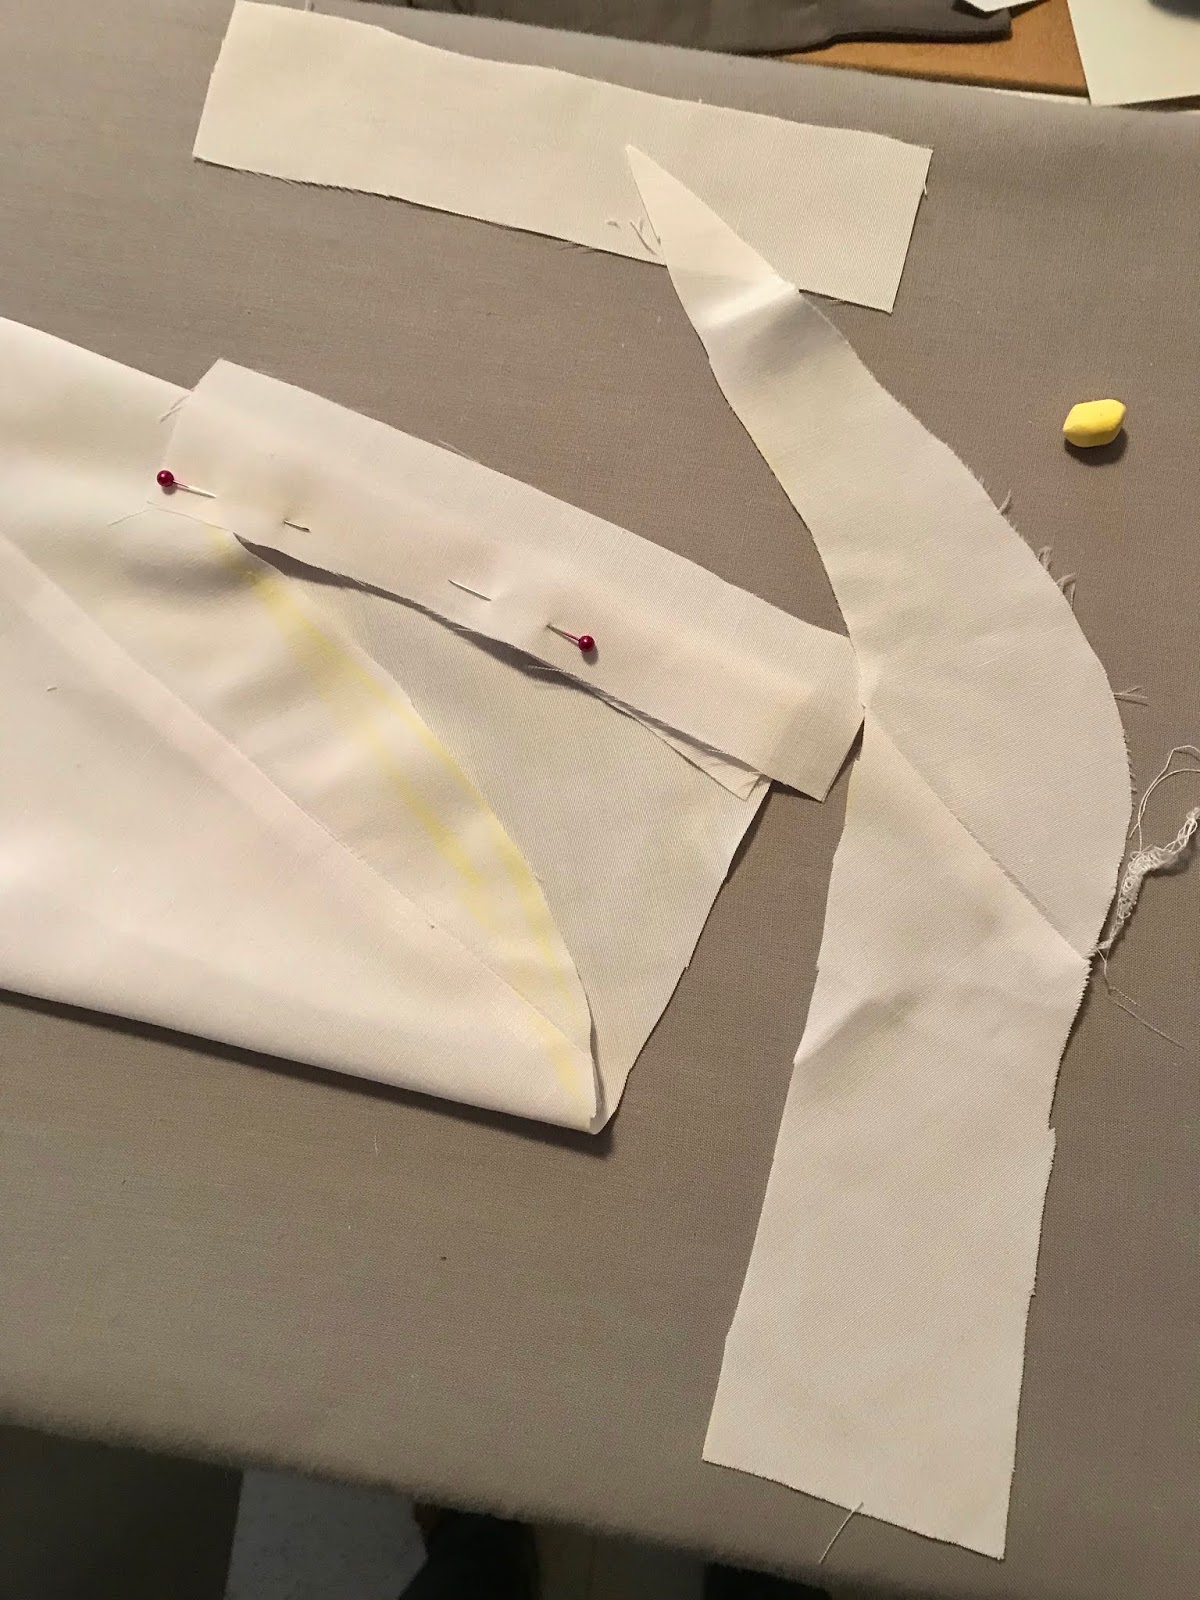
I am really not sure what was intended, so I did what made sense to me. I sewed the the "cuff opening detail" to the straight side of the sleeve opening. I pressed it completely to the inside.
I prepared the cuffs, with interfacing and pressing in the inside seam allowance as I did for the front placket.
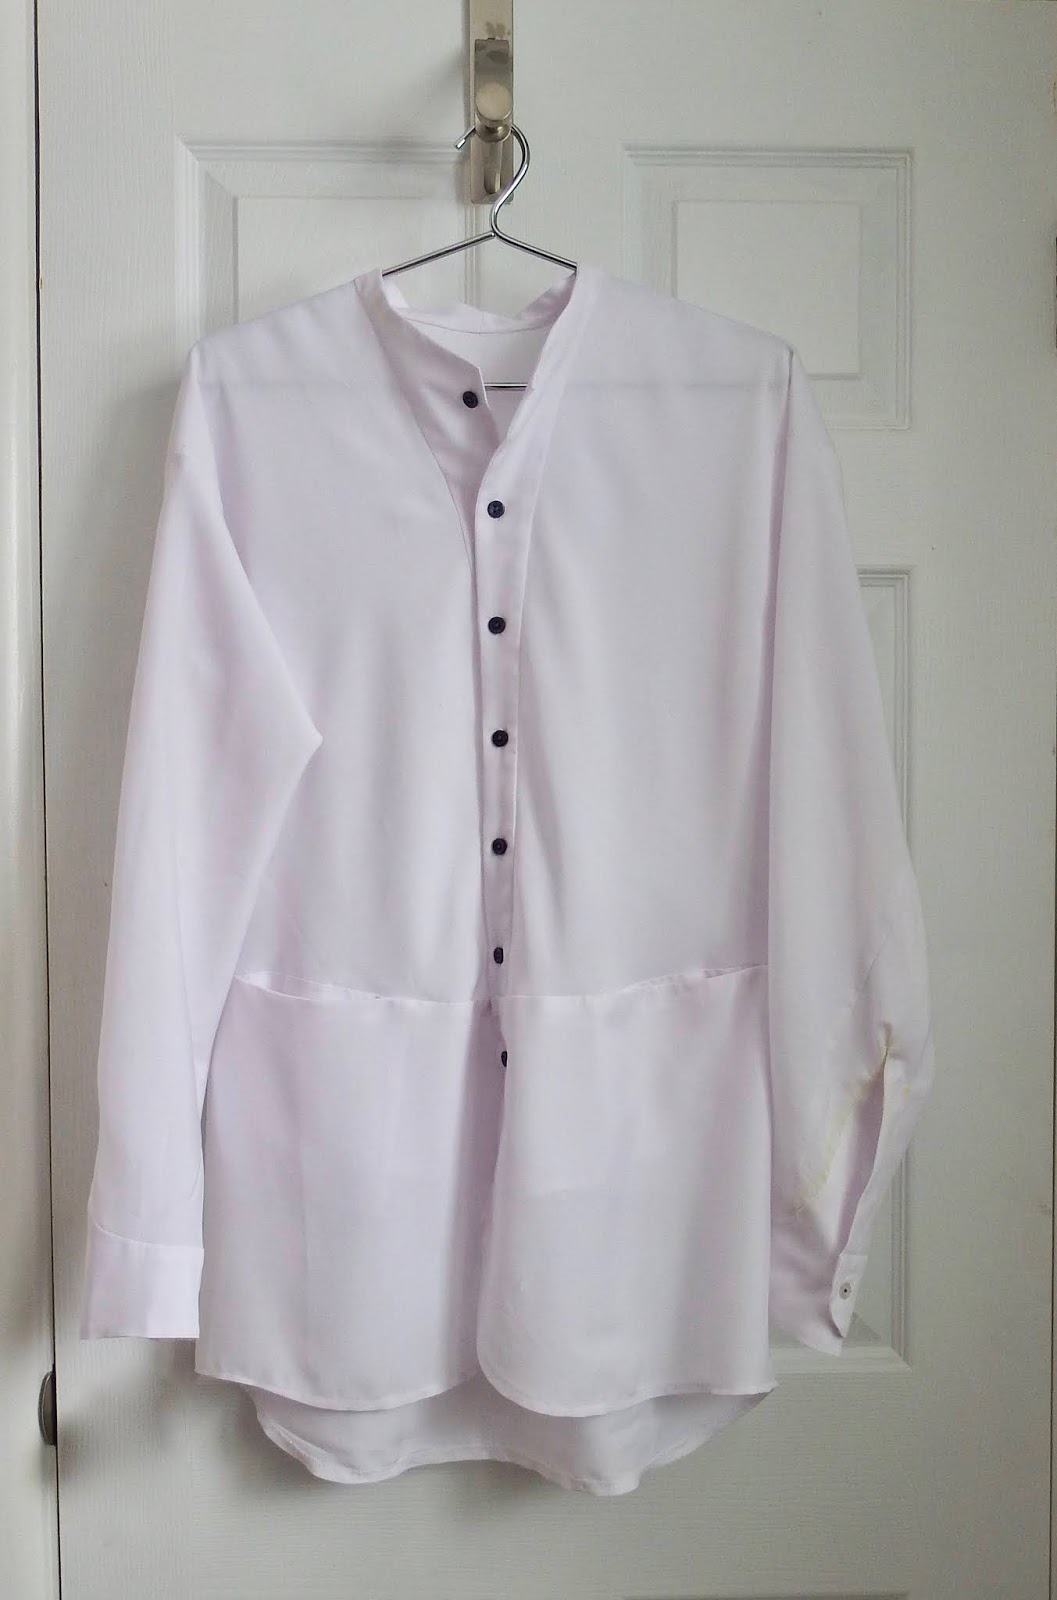
11. I pinned, basted and sewed the cuffs on.

I top stitched at the top of the opening to keep things in place.
12. I hand-sewed the inside placket and cuffs facings along the seams.
13. I made button holes and sewed on the buttons.


 |
| Sleeve detail |
No comments:
Post a Comment